

There are many tools available to do DevOps for PCF. Automating the deployment of artifacts to PCF is very easy and many articles have been published about it. Now, you will be asking, what different aspects this article is going to cover?
In my current project, I have observed that developers keep deploying applications on PCF with little control so the resources are piling up and leading to a huge bill to the DevOps team who manages the platform. After analyzing the issue, I found that teams are building the applications and deploying to a PCF test environment but they are sitting idle 80% of the time without being used. This is a huge waste of a test environment, as IaaS charges based on the consumption of memory/storage.
To address this waste, I have come up with a DevOps process which will not only just deploy the application to PCF, but also automate the provisioning and de-provisioning of the dependencies around it. This will ensure that all the resources are used optimally and not sitting idle. The idea is that you create the resources when you need them and delete them as soon as your work is finished. The below solution will first create the Org/Space for PCF, then create dependent backing services, deploy the application, test it with automation, clean up the resources after testing completion, and delete the Org/Space itself. There will be no environment sitting idle and adding to your bill.
For this pipeline, I have used Bamboo, but this can be implemented with any other pipeline, like Jenkins, GoCD, etc.
Prerequisites
- Bamboo Pipeline setup
- A Spring Boot application
- PCF CLI and Maven plugins for Bamboo
- Basic understanding of Bamboo pipeline
Stage 1 — Create Build and Analysis
This first step will checkout the code and integrate it with SonarQube. The Sonarqube dashboard will show the Application Analysis results based on the widgets available.
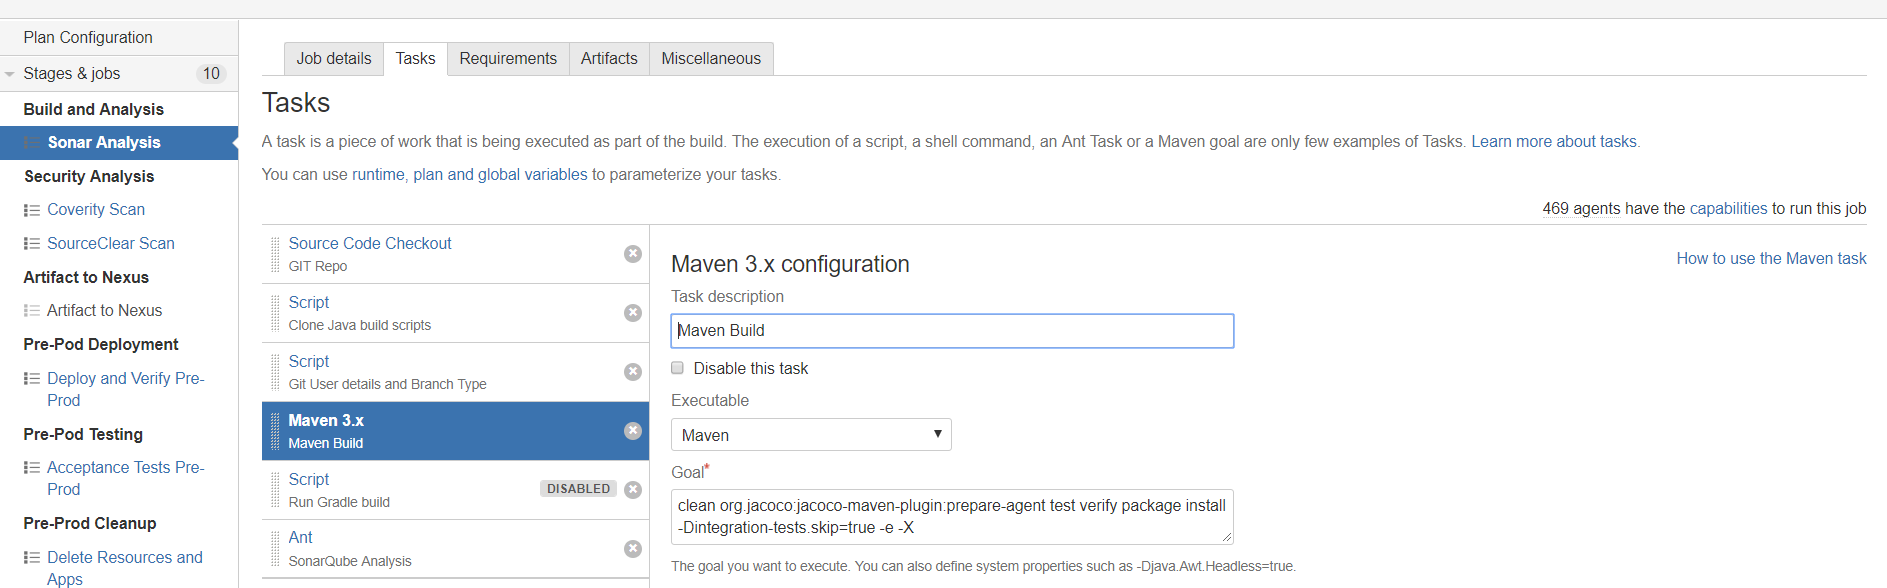
- First, checkout the code from Git.
- The next two steps are for copying the build and SonarQube scripts and retrieving the Git user and branch details for running the build.
- The third step is for the Maven build. I have disabled the Gradle script as my application is using the Maven pom for the build.
- The last step is to run the Sonar scan.
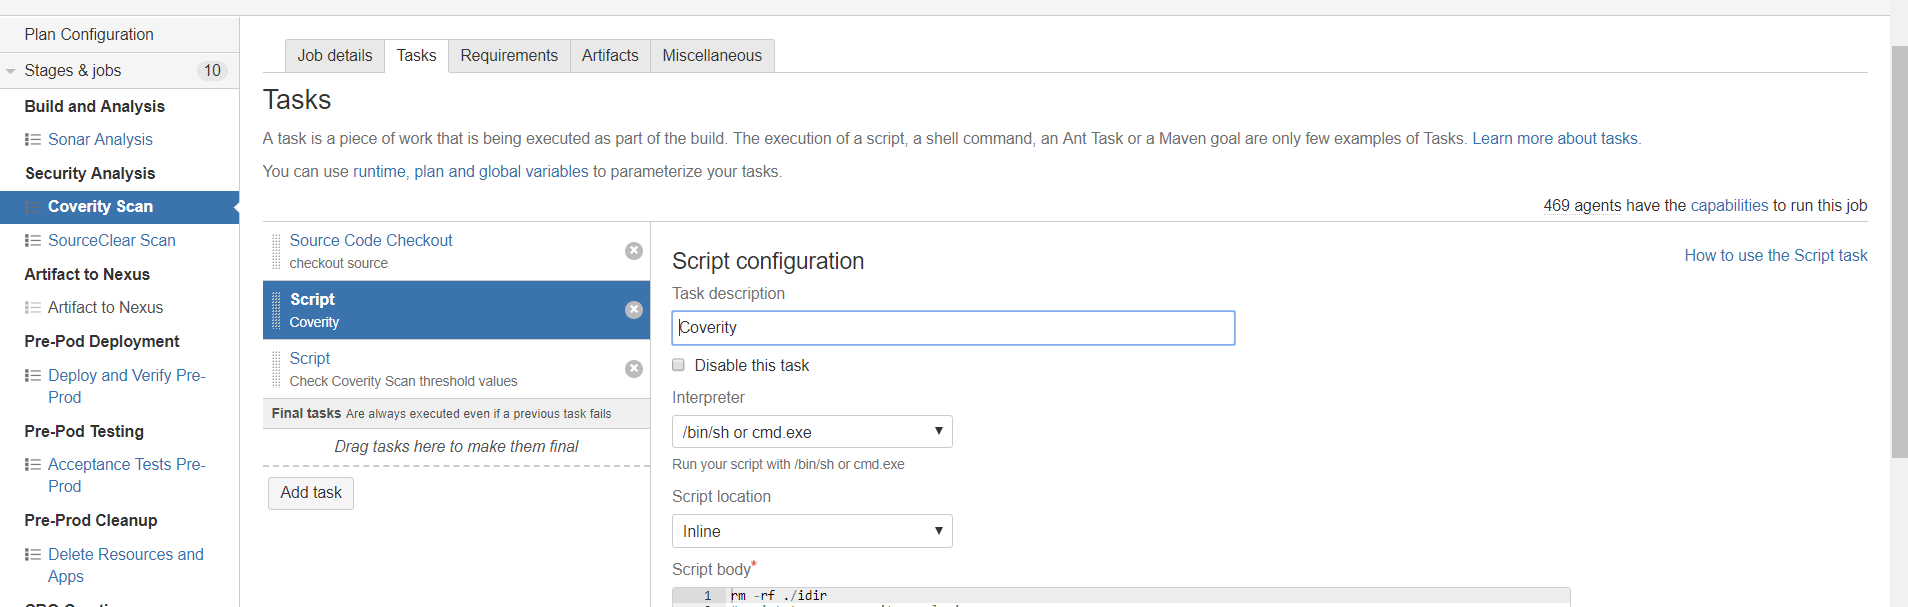
Stage 2 — Secure Code Scanning
This step is pretty standard and you can use many tools available, like Ccheckmarx, Coverity, SourceClear, etc. These tools do static code scans from a security point of view and generate log reports.
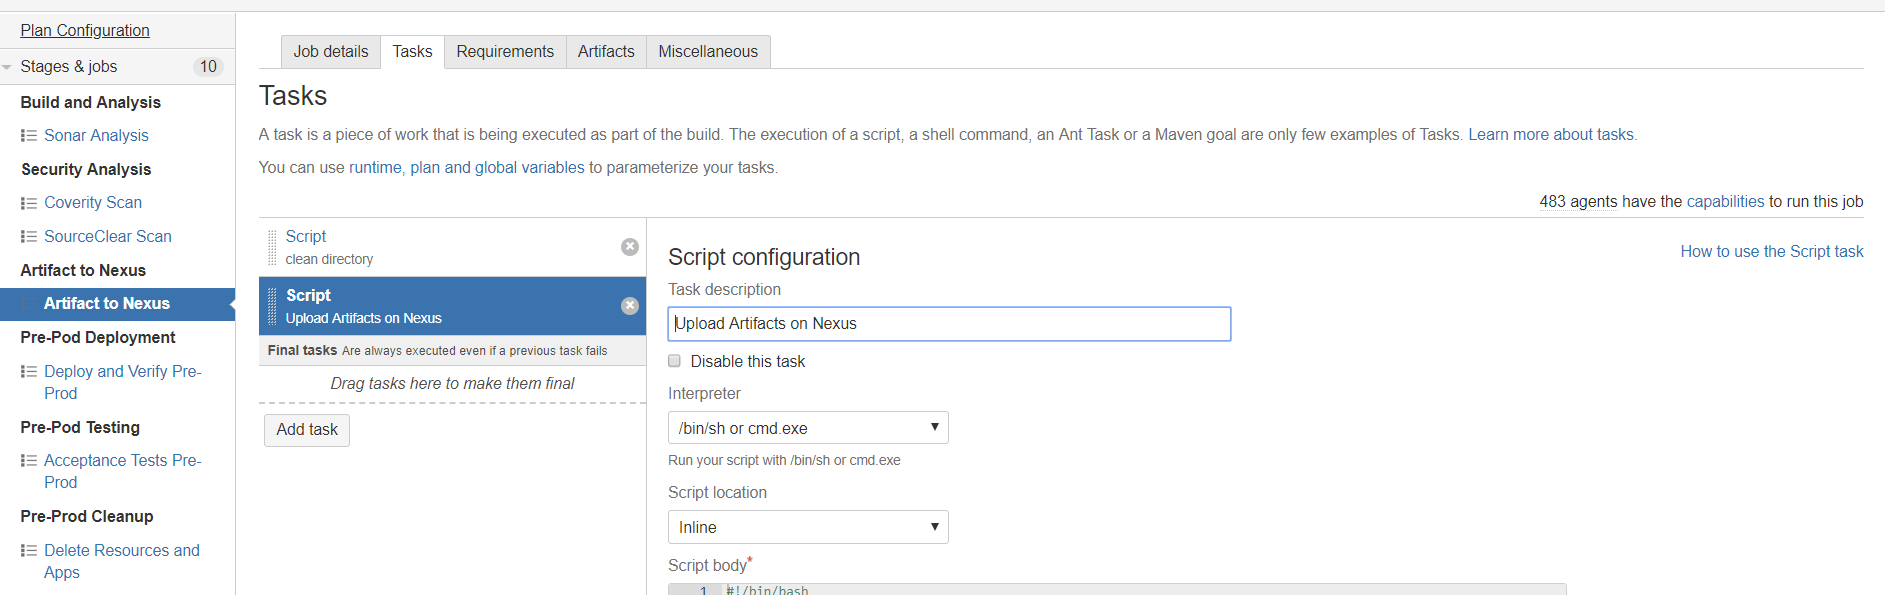
Stage 3 — Deploy Artifact to Repository (Nexus)
This is going to push the build artifact (jar, war file) to the repository, like Nexus or JFrog.
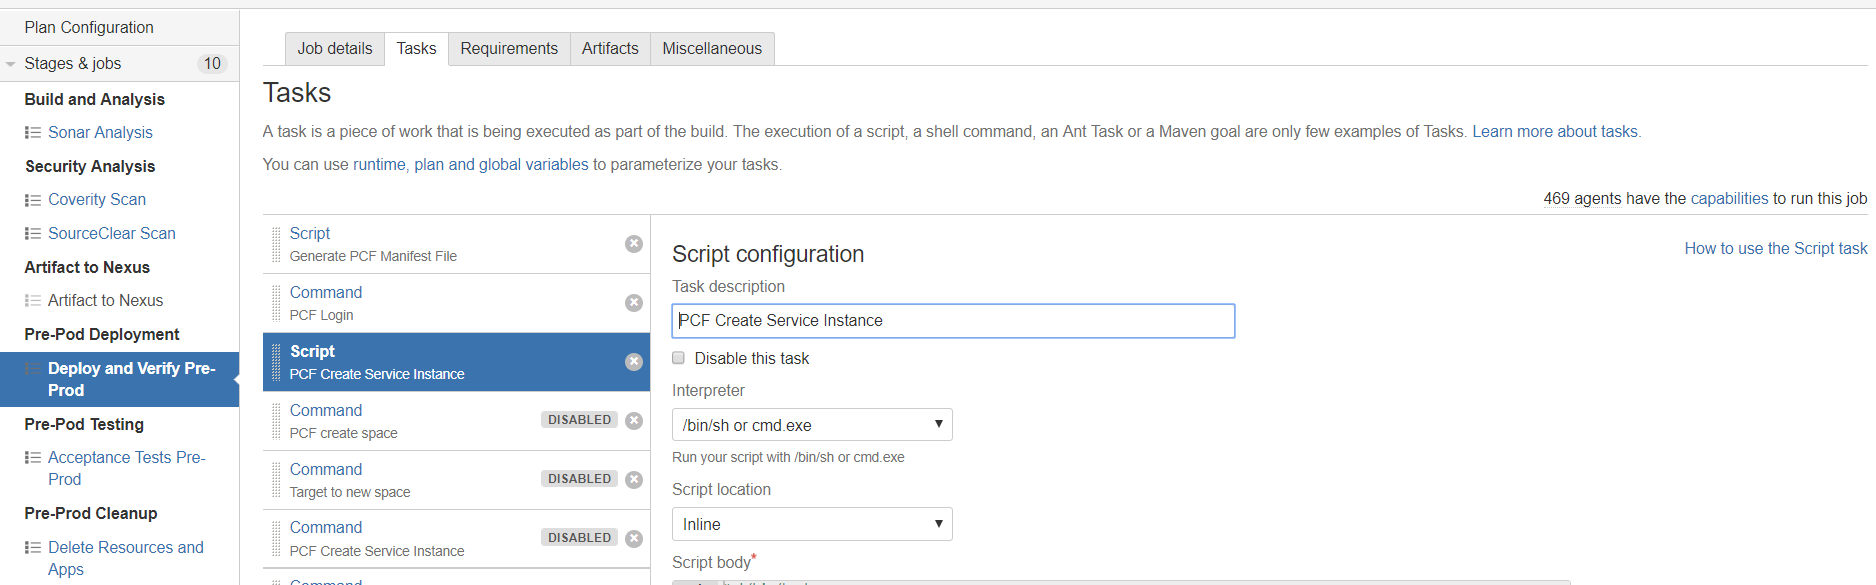
Stage 4 — Create the PCF Environment and Deploy the App
This is the most important part of this article. This step is going to create the PCF environment and then deploy the app.
- Copy the manifest file from the source code and make any changes through scripts, as required.
- Log into PCF using the PCF CLI plugin or a bash script.
- Create the Org/Space for the application and backing services where it will be deployed. Target to the new org/space.
- Create the service instances for each backing service required using the cf CLI command
create-service. - Push the application downloaded from the repository to PCF. The manifest file takes care of the service binding before starting the app.
- Log out of PCF.
All the above steps can be implemented in two ways.
- Write a shell script and keep it in the source code repository. This script can be imported into a Bamboo task and executed.
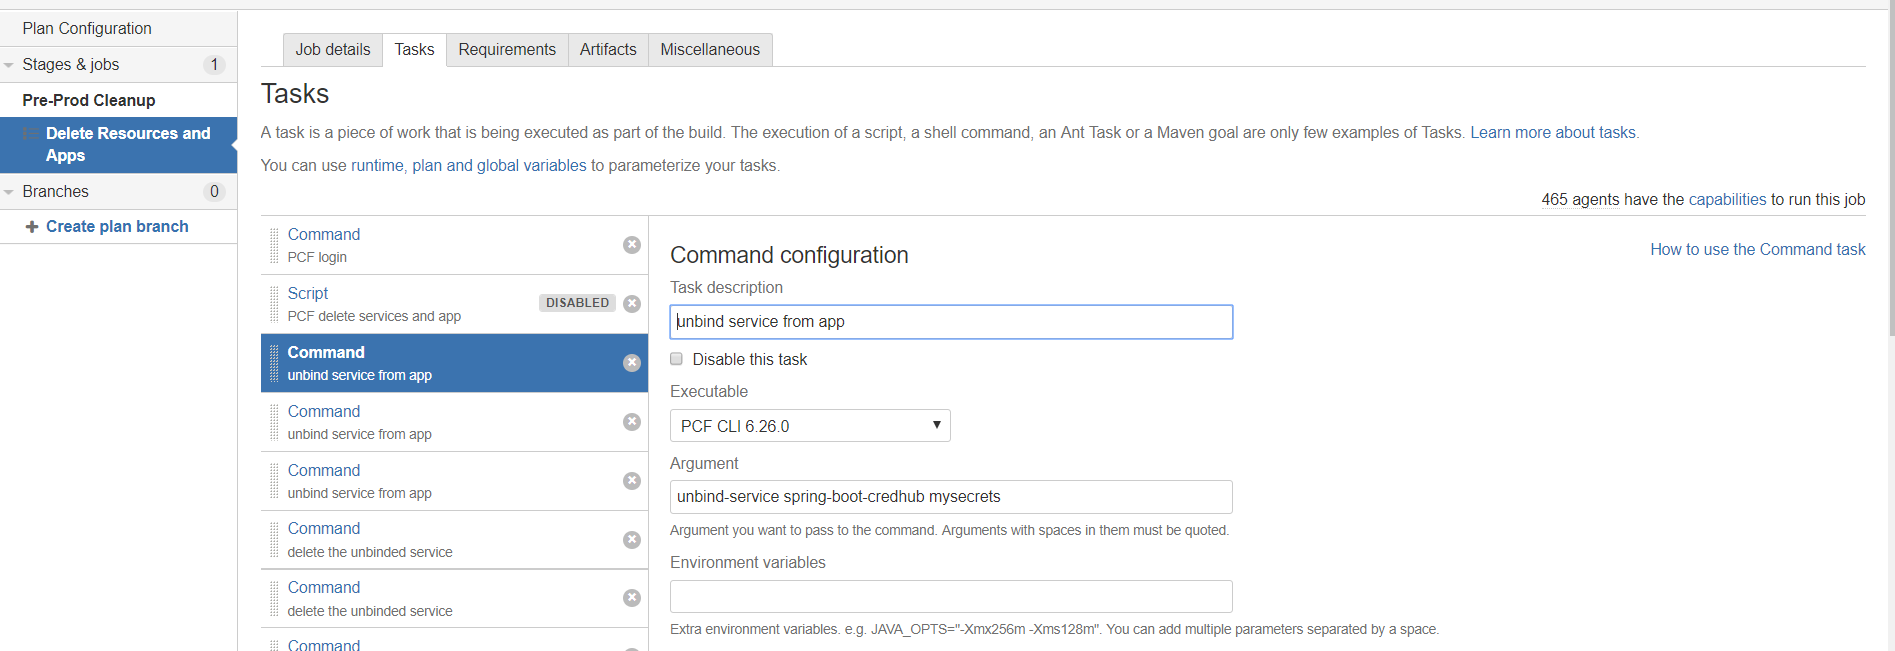
- Bamboo has a PCF CLI plugin so a task can be created for each command to log in, create services, deploy app, etc...
I have used a mix of both the approaches to showcase them (disabled tasks are for the second approach).
Now we have configured and provisioned everything required by the application to run, so it would be easy to de-provision it when the job is completed.
Step 5 — Run Automated Tests
This step is also a key point. Unless the testing is automated, you would need your app up and running to do manual testing, and that leads the app to sit idle for most of the time. So, automate most of the testing steps to reduce the idle time.
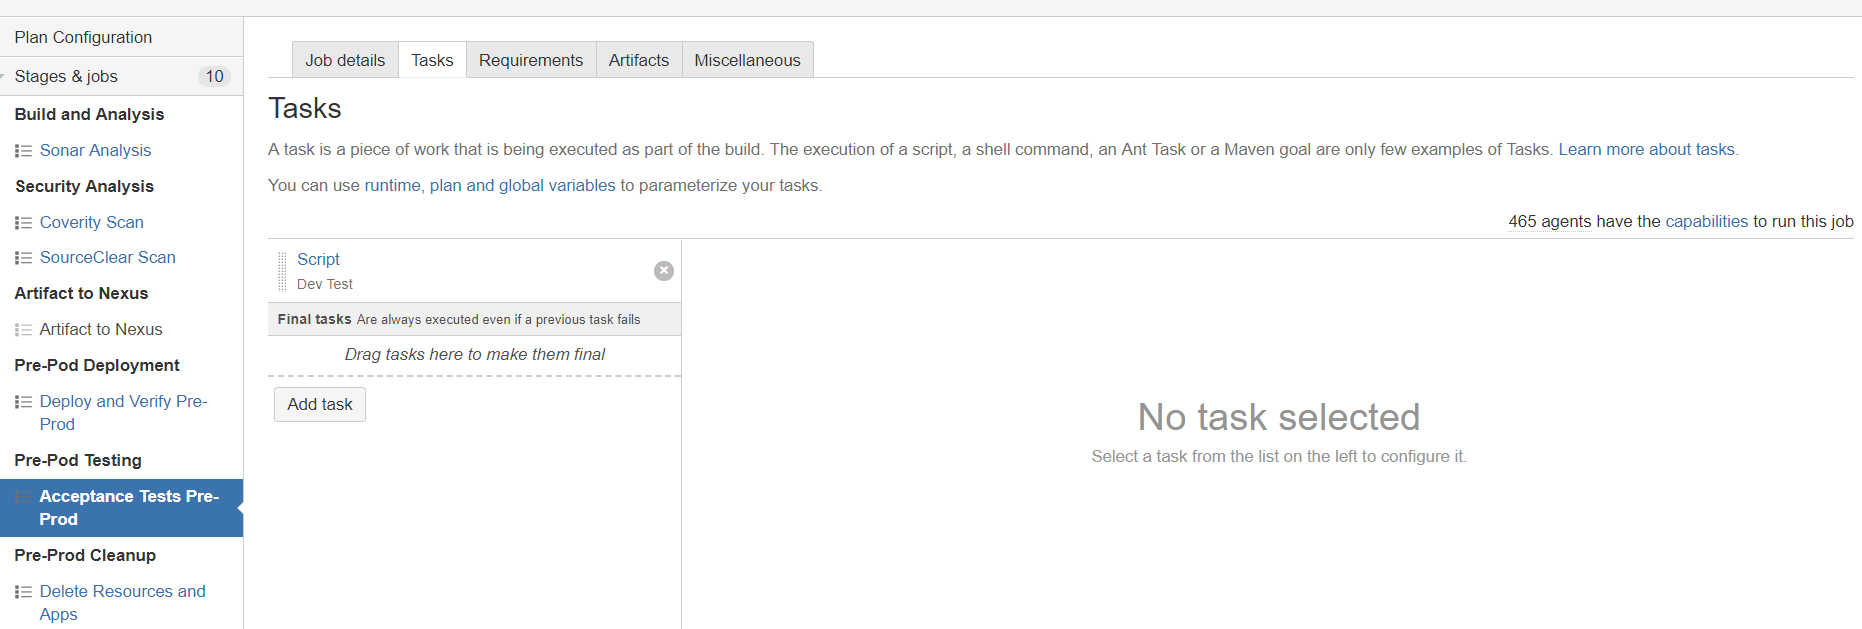
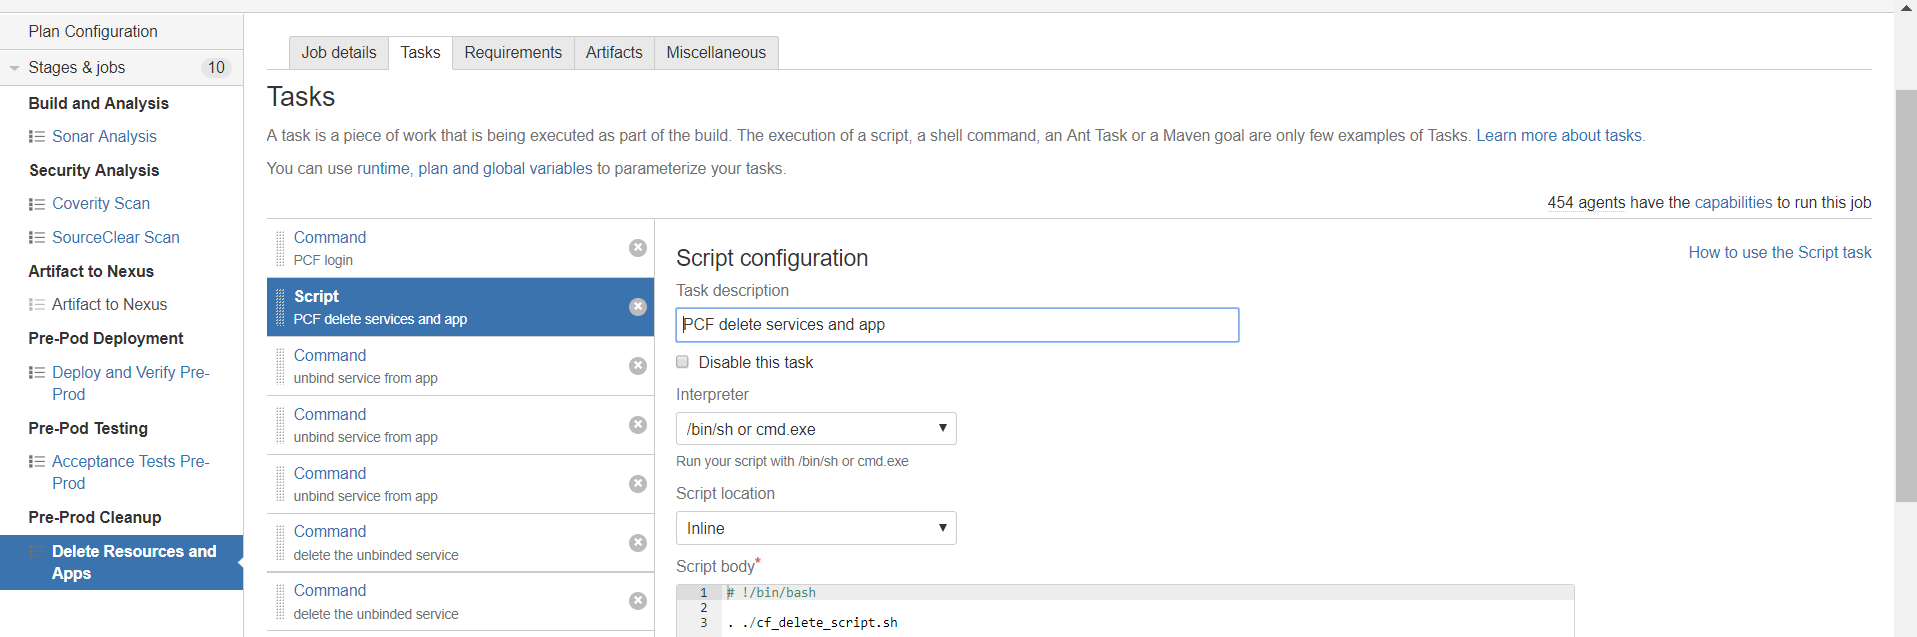
Step 6 — Delete the Resources and App
Once the testing is completed, all the resources and app can be de-provisioned.
Again, this can be either by script or the separate task for each command.
If we look at it before and after running this pipeline, you won't see any new space/app/services in PCF, but still, you fulfilled your purpose of using PCF to deploy and test the app.
Miscellaneous Use Case
The above strategy works very well for a dev environment where developers will keep playing with a lot of resources. For other environments, this might not be the case. For that, we may need to follow a different strategy. Let me explain that as well.
Let's take an example of a UAT environment where developers will be pushing the app and users will be doing the manual testing (now, don't argue with me that it should also be automated. There is always one thing or another which the user would like to see and test by himself before approving it to go to production). In that scenario, you would need to keep the app up and running for a certain period. In that case, you would need a pipeline which can just run Step 6 to clean up the resources. You can keep that pipeline aside to do this job in an automated way rather than doing a manual job.
That's all for this article. I hope you find it useful to minimize your bills.
Please do share your ideas on how to minimize the resource waste and the bill on the PCF platform. Share your views through comments.


No comments: